IBM Sterling B2B: Configuring SB2Bi to use Kafka: Difference between revisions
| Line 23: | Line 23: | ||
* '''Important''': key must be the filename of file. | * '''Important''': key must be the filename of file. | ||
1) To Create a new Adapter, open Dashboard > Deployment > Configuration | |||
2) Search for Kafka Consumer Stream Service, and click '''Next''' | |||
[[File:sb2b-kafka-setup-01.png]] | [[File:sb2b-kafka-setup-01.png]] | ||
3) Define a name and description, and click '''Next''' | |||
[[File:sb2b-kafka-setup-02.png]] | [[File:sb2b-kafka-setup-02.png]] | ||
4) Define Bootstrap Server and Topic, and click '''Next''' | |||
[[File:sb2b-kafka-setup-03.png]] | [[File:sb2b-kafka-setup-03.png]] | ||
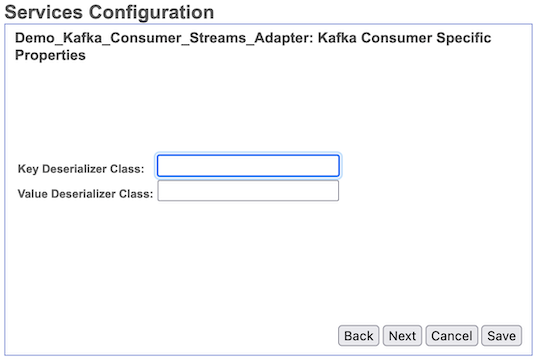
5) In Deserializer, click '''Next''' | |||
[[File:sb2b-kafka-setup-04.png]] | [[File:sb2b-kafka-setup-04.png]] | ||
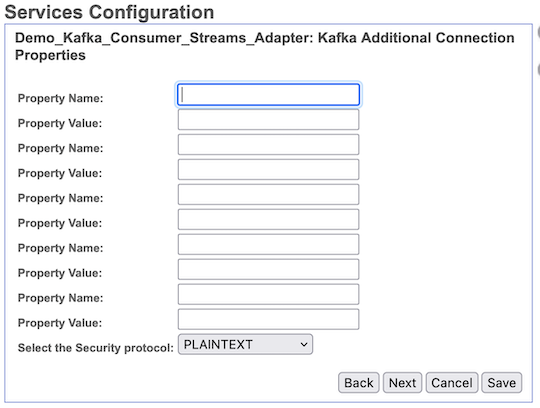
6) In properties, click '''Next''' | |||
[[File:sb2b-kafka-setup-05.png]] | [[File:sb2b-kafka-setup-05.png]] | ||
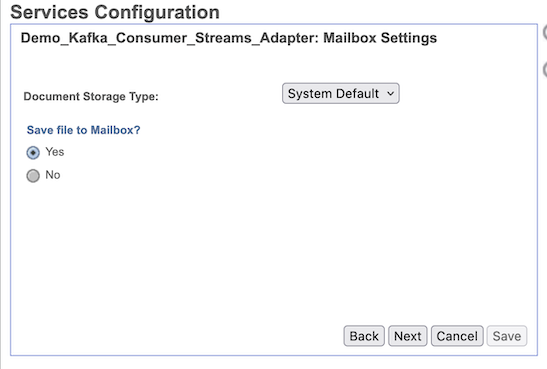
7) Choose to write the file to a Mailbox, and click '''Next''' | |||
[[File:sb2b-kafka-setup-06.png]] | [[File:sb2b-kafka-setup-06.png]] | ||
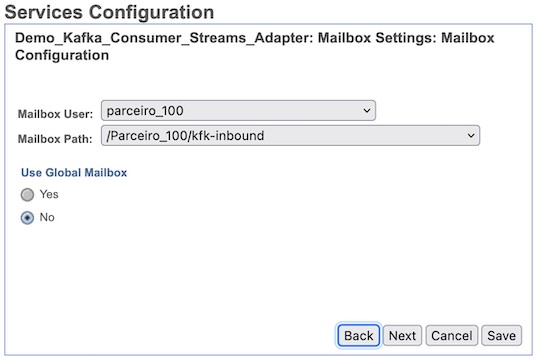
8) Define a Mailbox to write the file , and click '''Next''' | |||
[[File:sb2b-kafka-setup-07.png]] | [[File:sb2b-kafka-setup-07.png]] | ||
9) Click '''Next''' and '''Finish''' | |||
[[File:Sb2b-kdk-key-value.png]] | [[File:Sb2b-kdk-key-value.png]] | ||
= Ver também = | = Ver também = | ||
Revision as of 19:47, 1 November 2023
1) Deploy Kafka: Deploy Kafka as Container
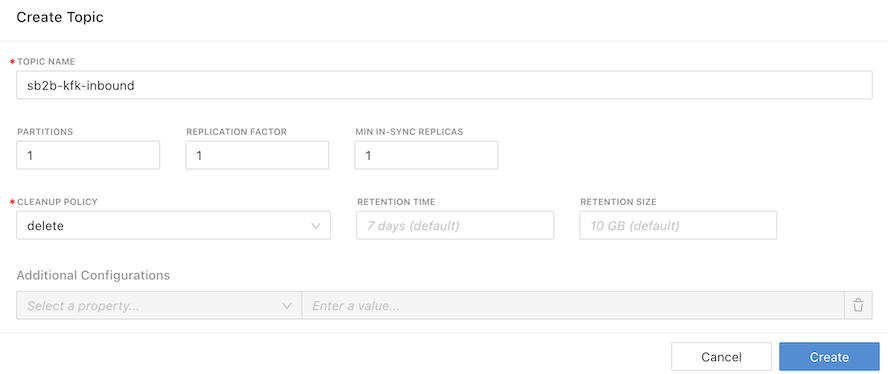
2) Using Kwol create topics
- sb2b-kfk-inbound
- sb2b-kfk-outbound
Create a Custom Protocol in SFG to use with Kafka
Configure Kafka Consumer Streams Adapter
The Kafka Consumer Streams Adapter connects with a Kafka queue to pull messages continuously.
- Important: key must be the filename of file.
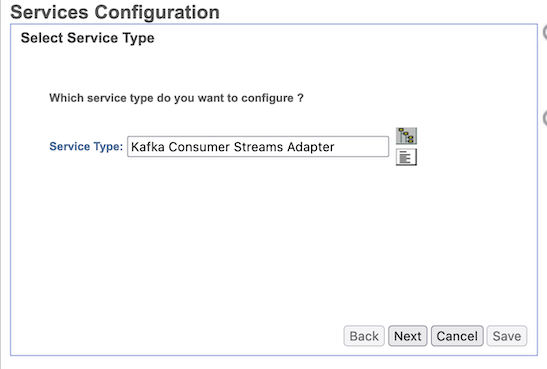
1) To Create a new Adapter, open Dashboard > Deployment > Configuration
2) Search for Kafka Consumer Stream Service, and click Next
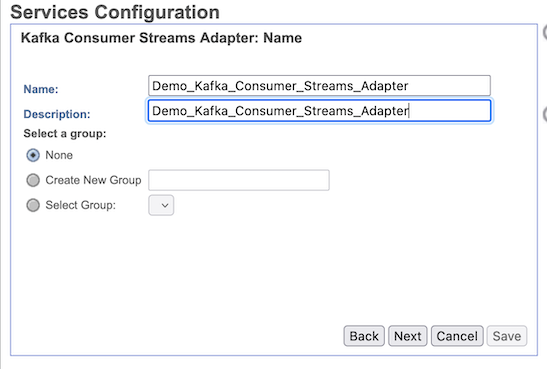
3) Define a name and description, and click Next
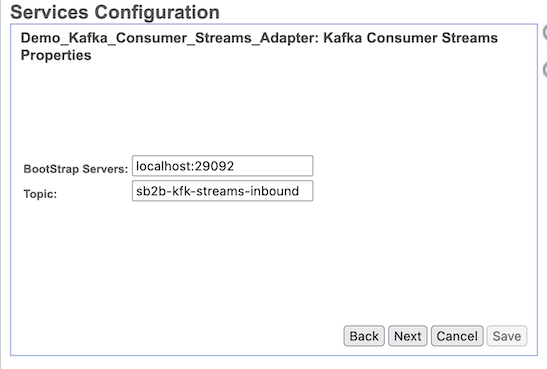
4) Define Bootstrap Server and Topic, and click Next
5) In Deserializer, click Next
6) In properties, click Next
7) Choose to write the file to a Mailbox, and click Next
8) Define a Mailbox to write the file , and click Next
9) Click Next and Finish

