IHS: Instalando o IBM HTTP Server
Neste artigo apresentamos a instalação do IBM HTTP Server, Plug-in do WebSphere e o WebSphere Customization Toolbox
Extrair os arquivos de instalação
Procedimento:
1. Ir para o diretorio
# cd /opt/Binarios/
2. Descompactar os pacotes
# unzip <PACOTES_IBM_HTTP_SERVER>.zip
Preparando o arquivo de Resposta
1) Crei um arquivo de resposta /opt/Binarios/p8install.rsp, usando um editor de texto
2) Altere os valores
<?xml version="1.0" encoding="UTF-8"?>
<agent-input acceptLicense='true'>
<server>
 <repository location='/opt/Binarios/Portal8/Portal/respository.config'/>
</server>
<install modify='false'>
 <offering id='com.ibm.websphere.PORTAL.SERVER.v80' version='8.0.1.20130123_1736' profile='IBM WebSphere Portal Server V8' features='ce.install,portal.binary,portal.profile' installFixes='none'/>
</install>
<profile id='IBM WebSphere Portal Server V8' installLocation='/opt/IBM/WebSphere/PortalServer'>
</profile>
<preference name='com.ibm.cic.common.core.preferences.eclipseCache' value='/opt/IBM/IMShared'/>
<preference name='com.ibm.cic.common.core.preferences.connectTimeout' value='30'/>
<preference name='com.ibm.cic.common.core.preferences.readTimeout' value='45'/>
<preference name='com.ibm.cic.common.core.preferences.downloadAutoRetryCount' value='0'/>
<preference name='offering.service.repositories.areUsed' value='true'/>
<preference name='com.ibm.cic.common.core.preferences.preserveDownloadedArtifacts' value='false'/>
<preference name='com.ibm.cic.common.core.preferences.keepFetchedFiles' value='false'/>
</agent-input>
para gerar a senha encriptada execute:
# /opt/IBM/InstallationManager/eclipse/tools/imutilsc encryptString wpsadmin
copie o valor e adicione o arquivo
Instalação do IBM HTTP Server (Gráfica)
Procedimento:
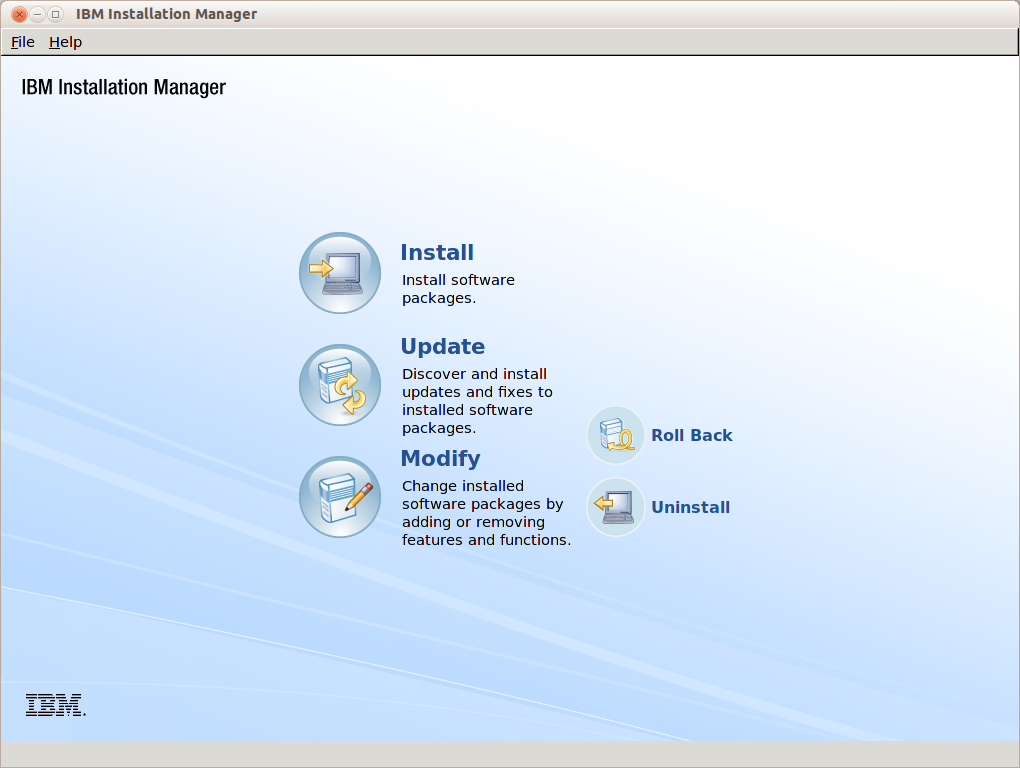
1. Execute novamente o IBM Installation Manager
# /opt/IBM/InstallationManager/eclipse/IBMIM
2. Clique em File -> Preferences -> Repositories
3. Clique em Add Repository
4. Adicione os repositórios
/opt/Binarios/disk1/diskTag.inf
e clique OK
5. Clique em Install
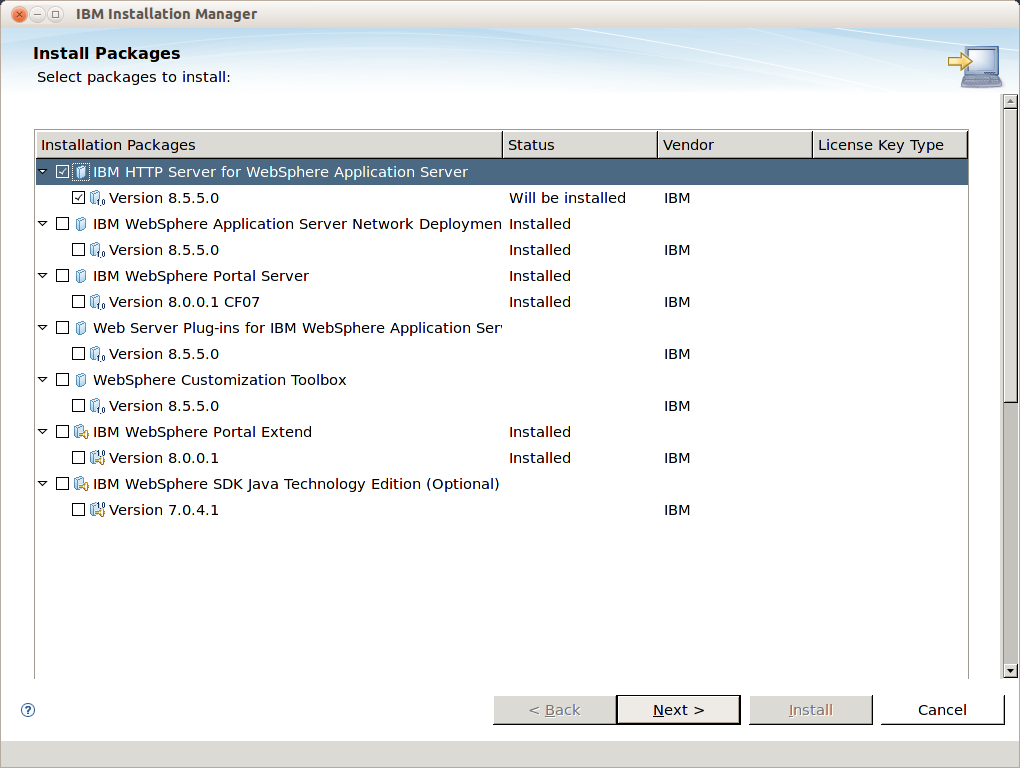
6. Visualize os pacotes a serem instalados e selecione
- IBM HTTP Server for WebSphere Application Server
- Web Server Plug-ins for IBM WebSphere Applciation Server
- WebSphere Customization Toolbox
e clique em Next
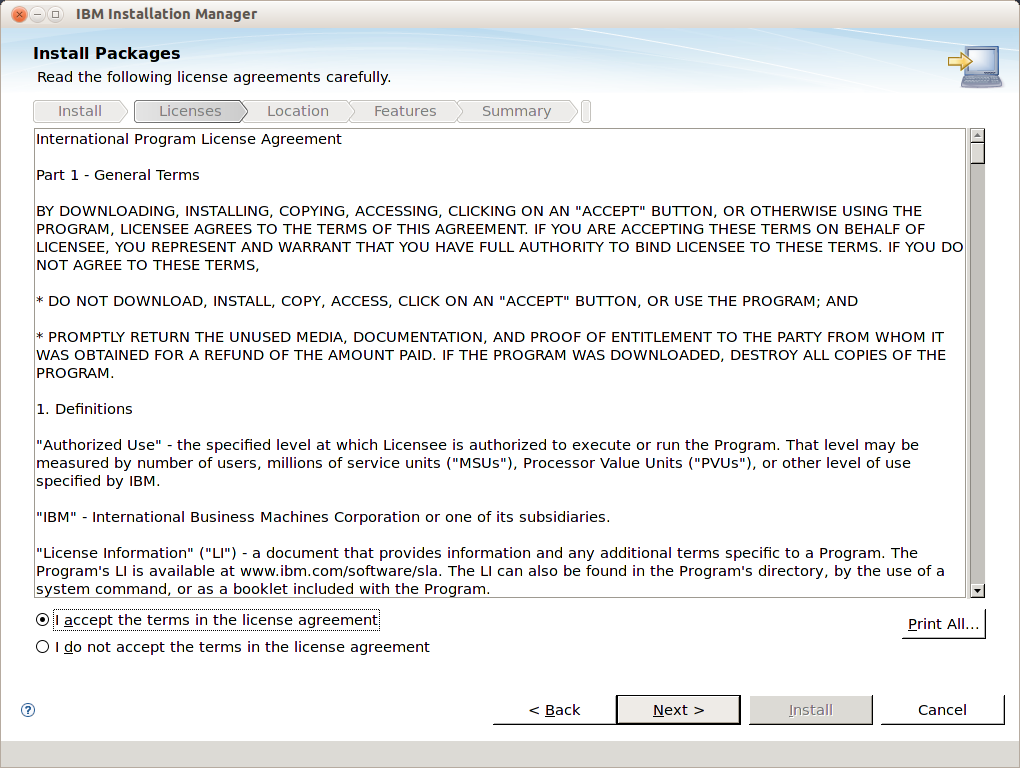
7. Aceite os termos e clique em Next
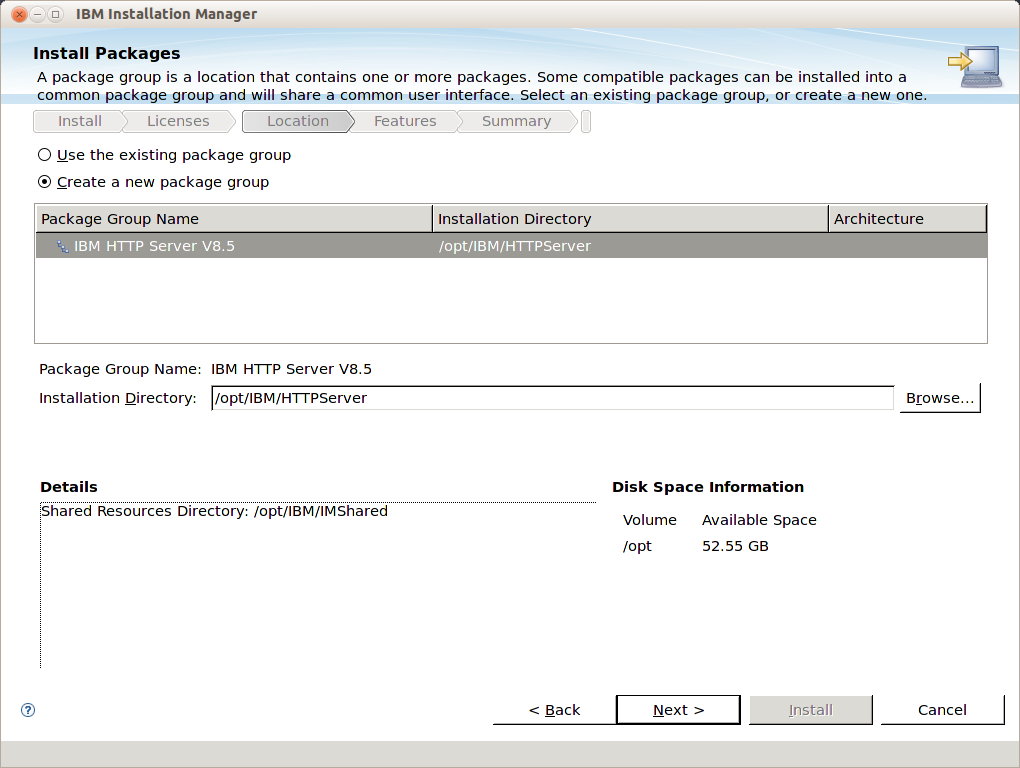
8. Selecione Create a new package group e clique em Next
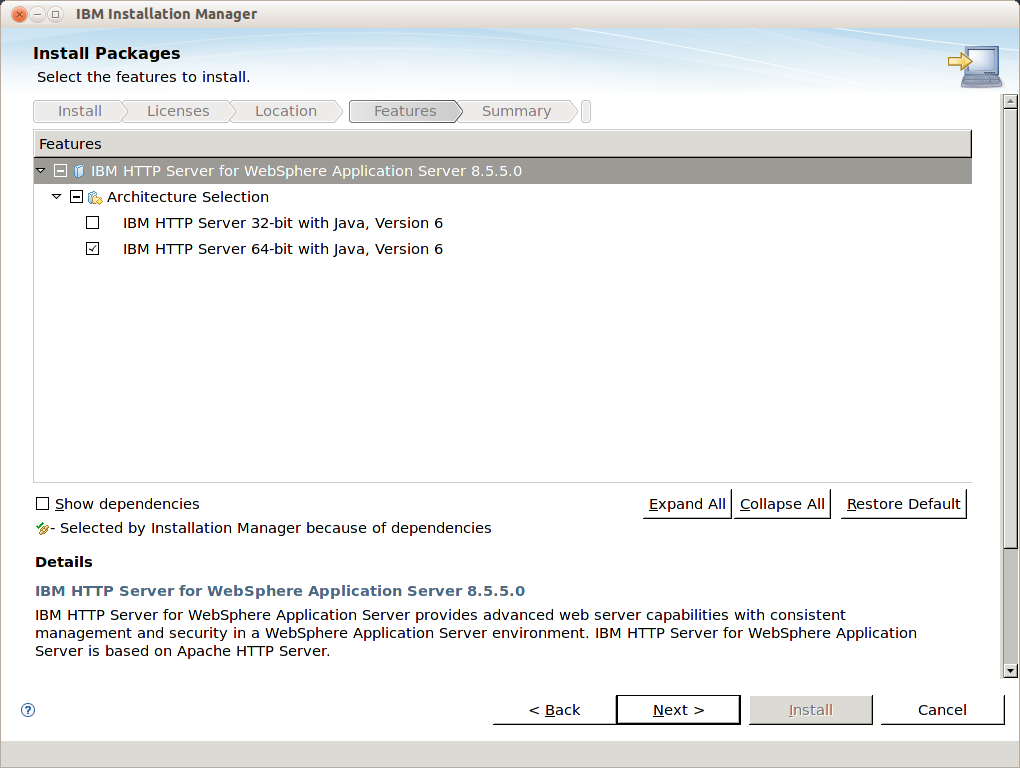
9. Selecione IBM HTTP Server 64-bit with Java, Version 6 e clique em Next
Obs.: Se o seu Sistema Operacional for 32 bits, selecione IBM HTTP Server 32-bit with Java, Version 6
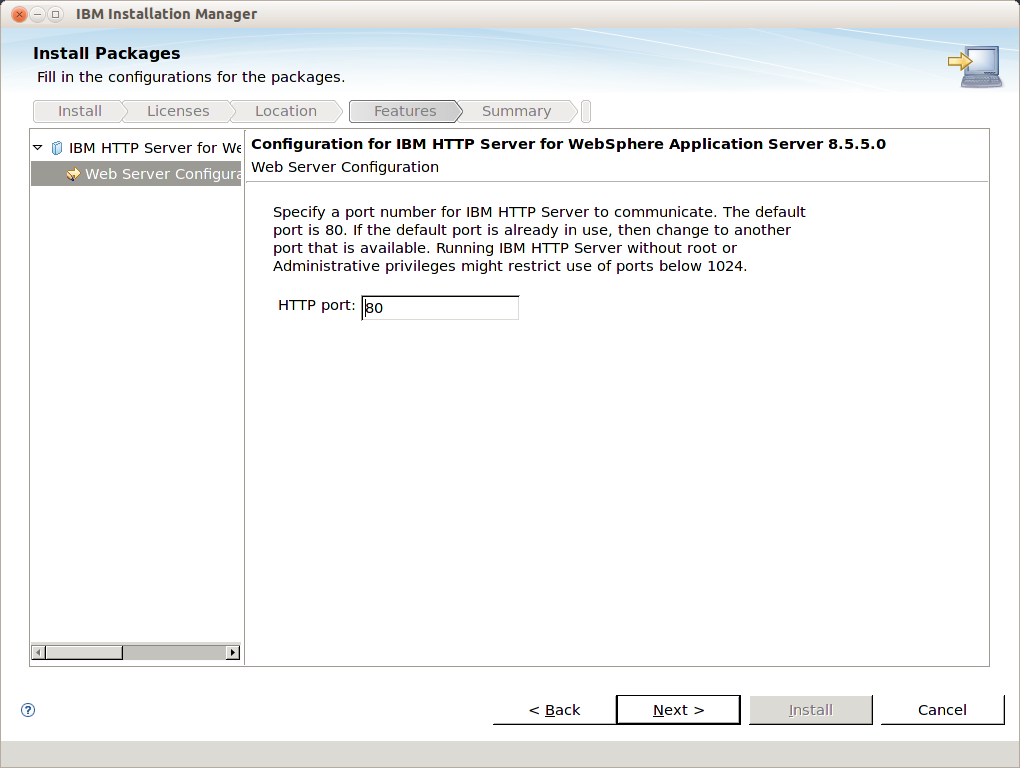
10. Aceite o valor default para a HTTP Port 80 e clique em Next
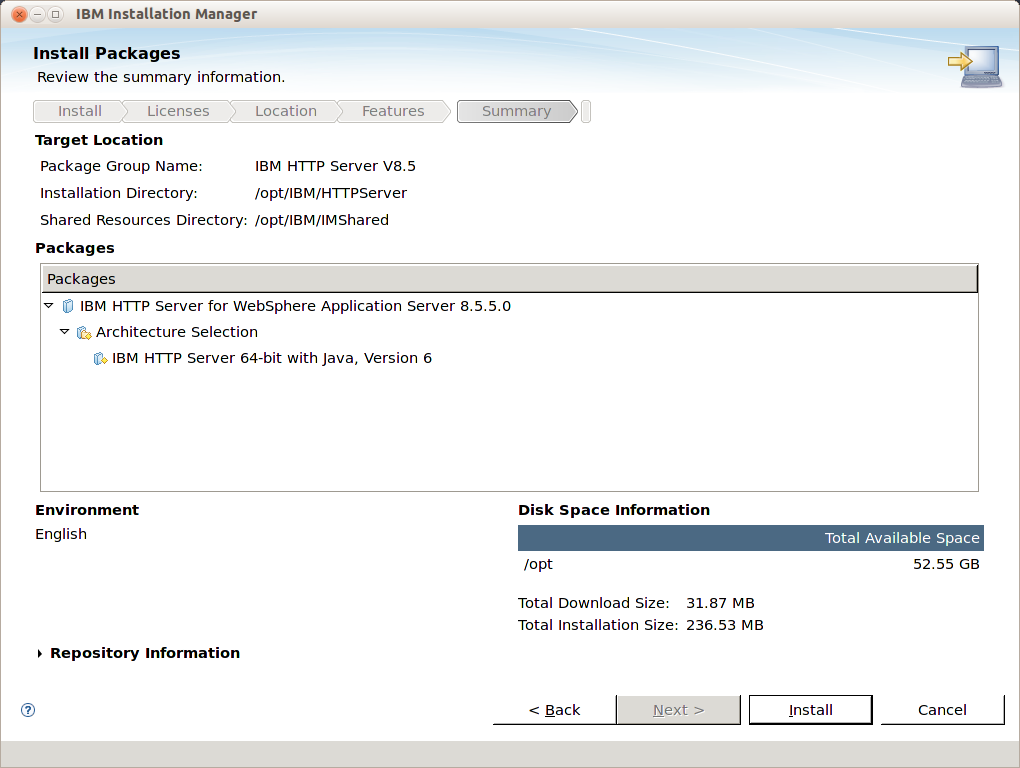
11. Clique em Install
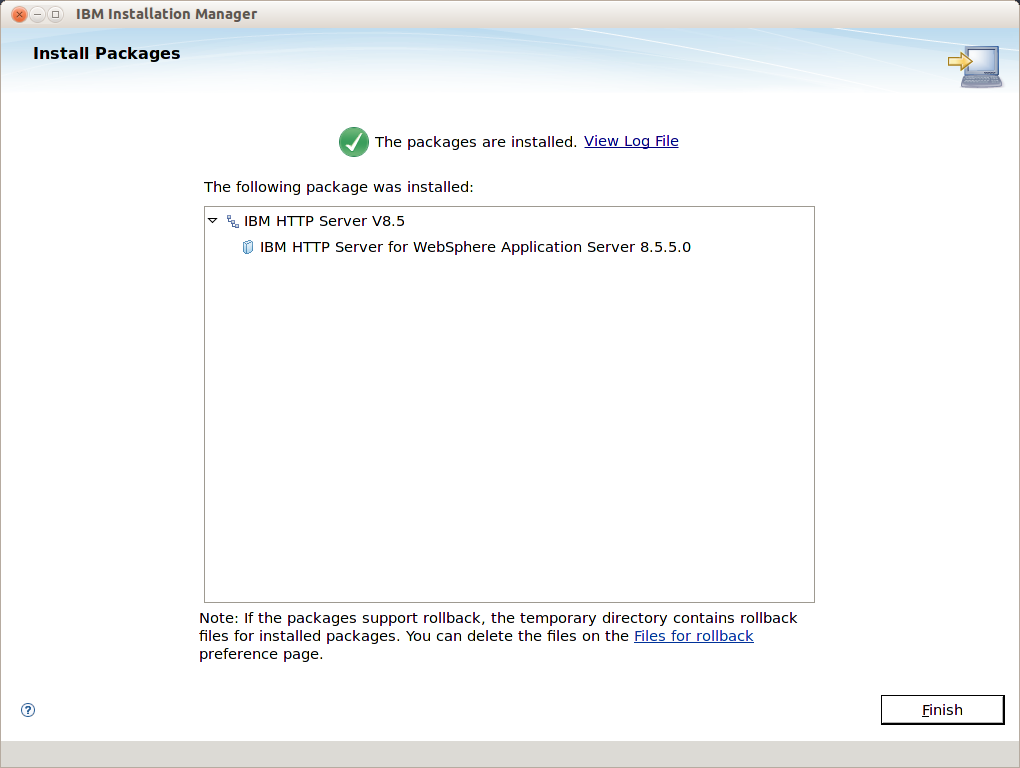
12. Ao final da instalação clique em Finish
Para verificar a instalação, abra um navegador e acesse o endereço:
http:// ihs01.''empresaX''.com.br
Será mostrado a tela do ihs.
Continuar no artigo IBM HTTP Server
Ver também
- Mais Artigos sobre o IBM HTTP Server
- Mais Artigos sobre WebSphere Application Server
- Mais Artigos sobre WebSphere Portal Server

